
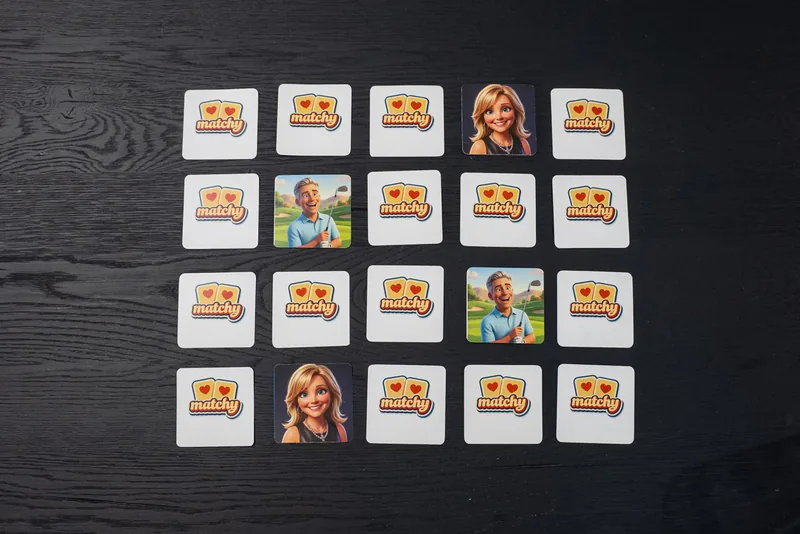
Here is how to digitize old photos without a scanner: lay each print flat in soft daylight, hold your phone straight above it, and take a sharp photo of the photo. A free photo scanning app on your phone makes it faster, and a small stack of prints can be done in an afternoon. Once they are saved, Matchy Matchy can turn those old photos into a memory card game the whole family plays.
Below are the steps, the setup, the fixes for glare and curl, and which prints to save first. Grandma's shoebox deserves better than the back of a closet.
How to digitize old photos with your phone
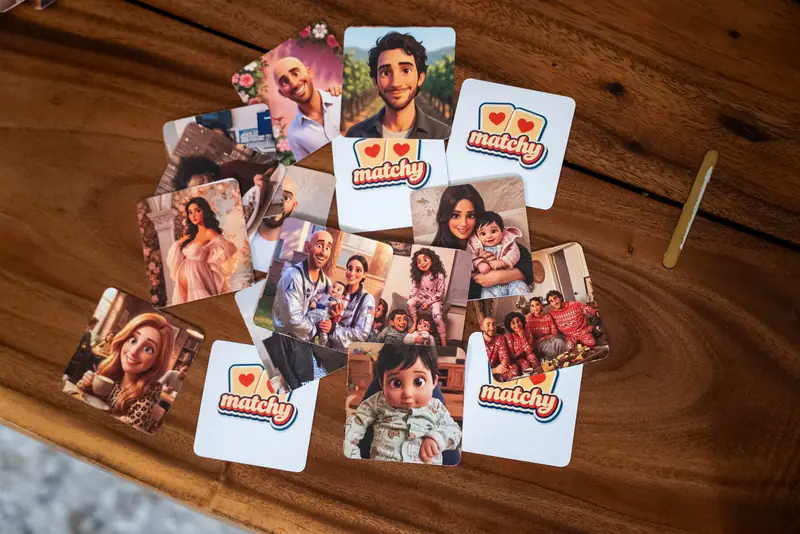
To digitize old photos with a phone, you need a flat surface, good light and a steady hand. Work through the pile one print at a time.
- Clean the print. Brush off dust with a soft, dry cloth. Never use water or wipes.
- Lay it flat. Put the print on a dark, plain surface, like a black shirt or a placemat.
- Find soft light. Sit near a window in daylight. Turn off the overhead lamp.
- Hold the phone level. Keep the phone parallel to the print, straight above it, so the corners stay square.
- Fill the frame. Get close enough that the print fills the screen with a thin border around it.
- Tap to focus. Tap on a face before you shoot, then hold still.
- Crop and straighten. Trim the border in your phone's photo editor. Leave the colors alone for now.
What do you need before you start?
Digitizing old photos at home needs very little gear. Most of it is already in your house.
- A phone with a decent camera. Any recent phone works well for prints.
- A scanning app. Many free apps find the edges, flatten the angle and remove glare. Your phone's normal camera works too.
- A dark cloth or board. A plain background makes cropping easy.
- A soft brush or cloth. For dust and crumbs.
- A stack of books. For pressing curled prints flat overnight.
- A helper. One person reads the back of each photo out loud. The other shoots.
If you have hundreds of prints, ask at your local library. Many have a flatbed scanner you can book. A paid scanning service is another choice for very large boxes.
How do you avoid glare and curled edges?
Glare on old photos comes from light bouncing straight off the glossy surface into the lens. Move the light, and the glare moves with it.
- Angle the light. Put the window to the side of the print, never behind you.
- Turn off the flash. Flash makes a white hot spot on glossy prints.
- Take two shots. Shoot once, then tilt the phone a little or slide the print away from the window and shoot again. Keep the cleaner one.
- Flatten curl first. Press curled prints under heavy books for a night before you shoot.
- Leave albums intact. For photos stuck in old sticky albums, shoot them through the page. Peeling can tear them.
Faded color is easy to fix later in a photo editor. Glare and blur are very hard to fix later, so take your time on the shot itself.
How should you name and back up the scans?
Scans of old photos stay useful when the names tell you who and where. A folder of files called IMG and a number helps nobody.
- Name the people. Use the names in the file name: grandma-and-grandpa-lake-house.
- Scan the backs. Handwriting on the back is part of the photo. Save it as a second file.
- Sort by branch. One folder per side of the family is easier than one folder per decade.
- Keep two copies. One on your computer and one in cloud storage.
- Share the folder. Send the link to your siblings and cousins so the scans live in more than one house.
Which old photos should you digitize first?
Digitize the old photos that exist in only one copy first. Those are the ones a flood or a move can take away for good.
- The only print. Any photo with no negative and no copy anywhere else.
- The wedding photos. Grandparents, great grandparents, the couple nobody can name yet.
- The faces. Close portraits of people who have passed.
- The old house. The porch, the kitchen, the car in the driveway.
- The written-on ones. Prints with names or places on the back.
- The fragile ones. Faded, cracked or curling prints, before they get worse.
If the scans will end up on game cards, favor close faces and simple scenes. A single face reads clearly at card size. A wide shot of forty cousins on the lawn turns into a blur. Black and white prints look lovely next to color ones, so mix them in.
What can you do with old photos once they are digital?
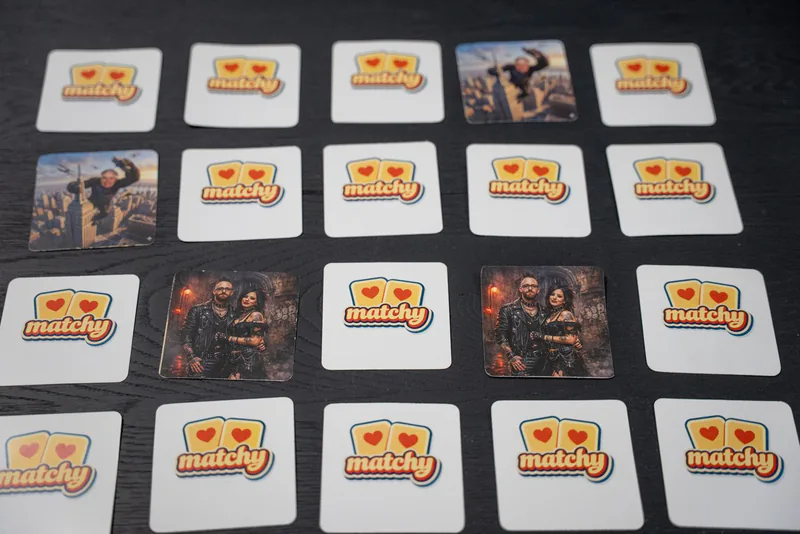
Digital copies of old photos are easy to print, share and play with again. Make a photo book for a parent. Load them onto a connected photo frame for a grandparent. Or turn them into a game. Matchy Matchy Memory keeps your old prints as real photos on the cards. Here are the plain facts.
- What it is: Matchy Matchy prints your own photos as a memory card game.
- The two games: Matchy Matchy Memory keeps your real photos, from $19.99. Matchy Matchy Magic re-draws them in 3D Film, Watercolor or Anime, from $29.99.
- Sizes: Choose 12, 24 or 48 cards.
- Before you pay: With Matchy Matchy Magic, you see your first card.
- How you order: You upload from your phone at matchygame.com.
- Shipping: Shipping is $5, and free when you order 2 or more decks. US only, ships in 3 to 5 business days.
A photo game suits a family that gathers around a table. If you want to keep every single print in one place, a photo book holds far more.
Ready to make your own?
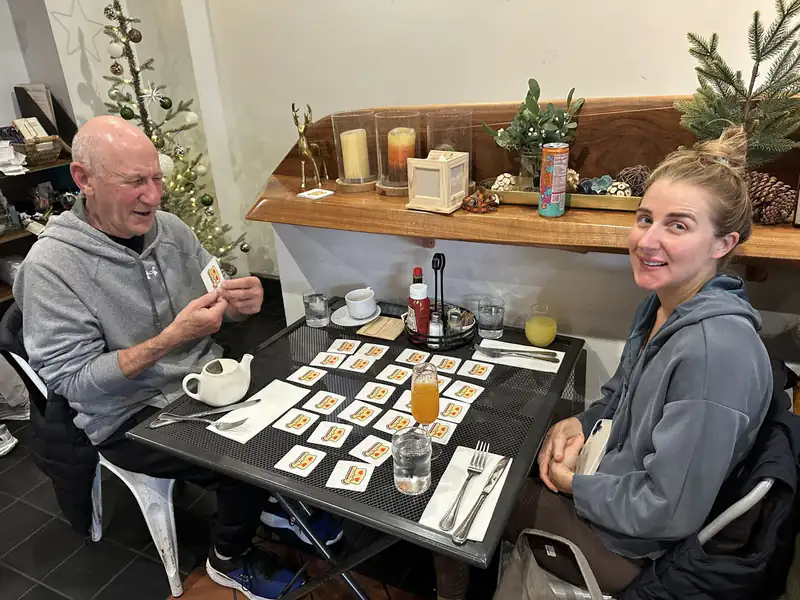
Pick the old photos you just saved. Choose real or re-drawn. Choose 12, 24 or 48 cards. Upload from your phone.
Start with Matchy Matchy Memory to keep the old prints just as they look, or try Matchy Matchy Magic to see great grandpa re-drawn in Watercolor. Order early for Christmas. Questions? Write to us at hello@matchygame.com.